Over the shoulder
The Over the Shoulder shot
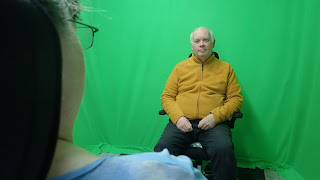
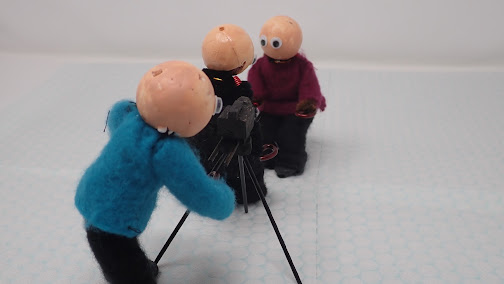
This is great for interviews and family interactions. placing the camera behind the ear of one person shows the interaction of the communication.
Camera
The talent x2
optional A tripod
After an establishing shot of an interview showing who and where the interviewees are standing or sitting, then the next most common view is the over the shoulder shot.
This picture requires the interviewers side of face and shoulder to give the illusion that the interviewers is facing the interviewee and is listening (nodding) and interacting in a conversation.
This view can be supplemented by the opposite view over the interviewees should and either can capture the interviewer asking a question or more commonly nodding and interacting with the interviewee.
This breaks up the interview and makes it appear more interesting It is very important to get the talent the right way round to ensure that it looks like one talent is on side the other on the other.
Example
Filming an Interview
Head and shoulders is normally a nice shot. To get the talent to look down the lens there are various cheats. One is to use a teleprompter on the lens (we will look at this in a later blog and video) Instead of the the teleprompter showing text it has a live feed of the interviewer. This can be a wider shot is you want.
This doesn't have to be done at the same time but is a continuation of the sound track with the interviewer looking like they are paying attention.
Intersperse the close up images with more distance ones or views of both in the establishing shot as you wish.
Set up a simple interview. It doesn't have to be a formal affair. It can even be just one person talking to another. User the over the shoulder shot and the reverse shot and see what you can do.


Comments
Post a Comment